Hello World
In this example we’ll use the mote-link Python library to control Mote and visualize telemetry data.
Example data - Mote driving around my apartment
Setup
This example uses uv to run a Python program. Install uv using the instructions in the uv docs.
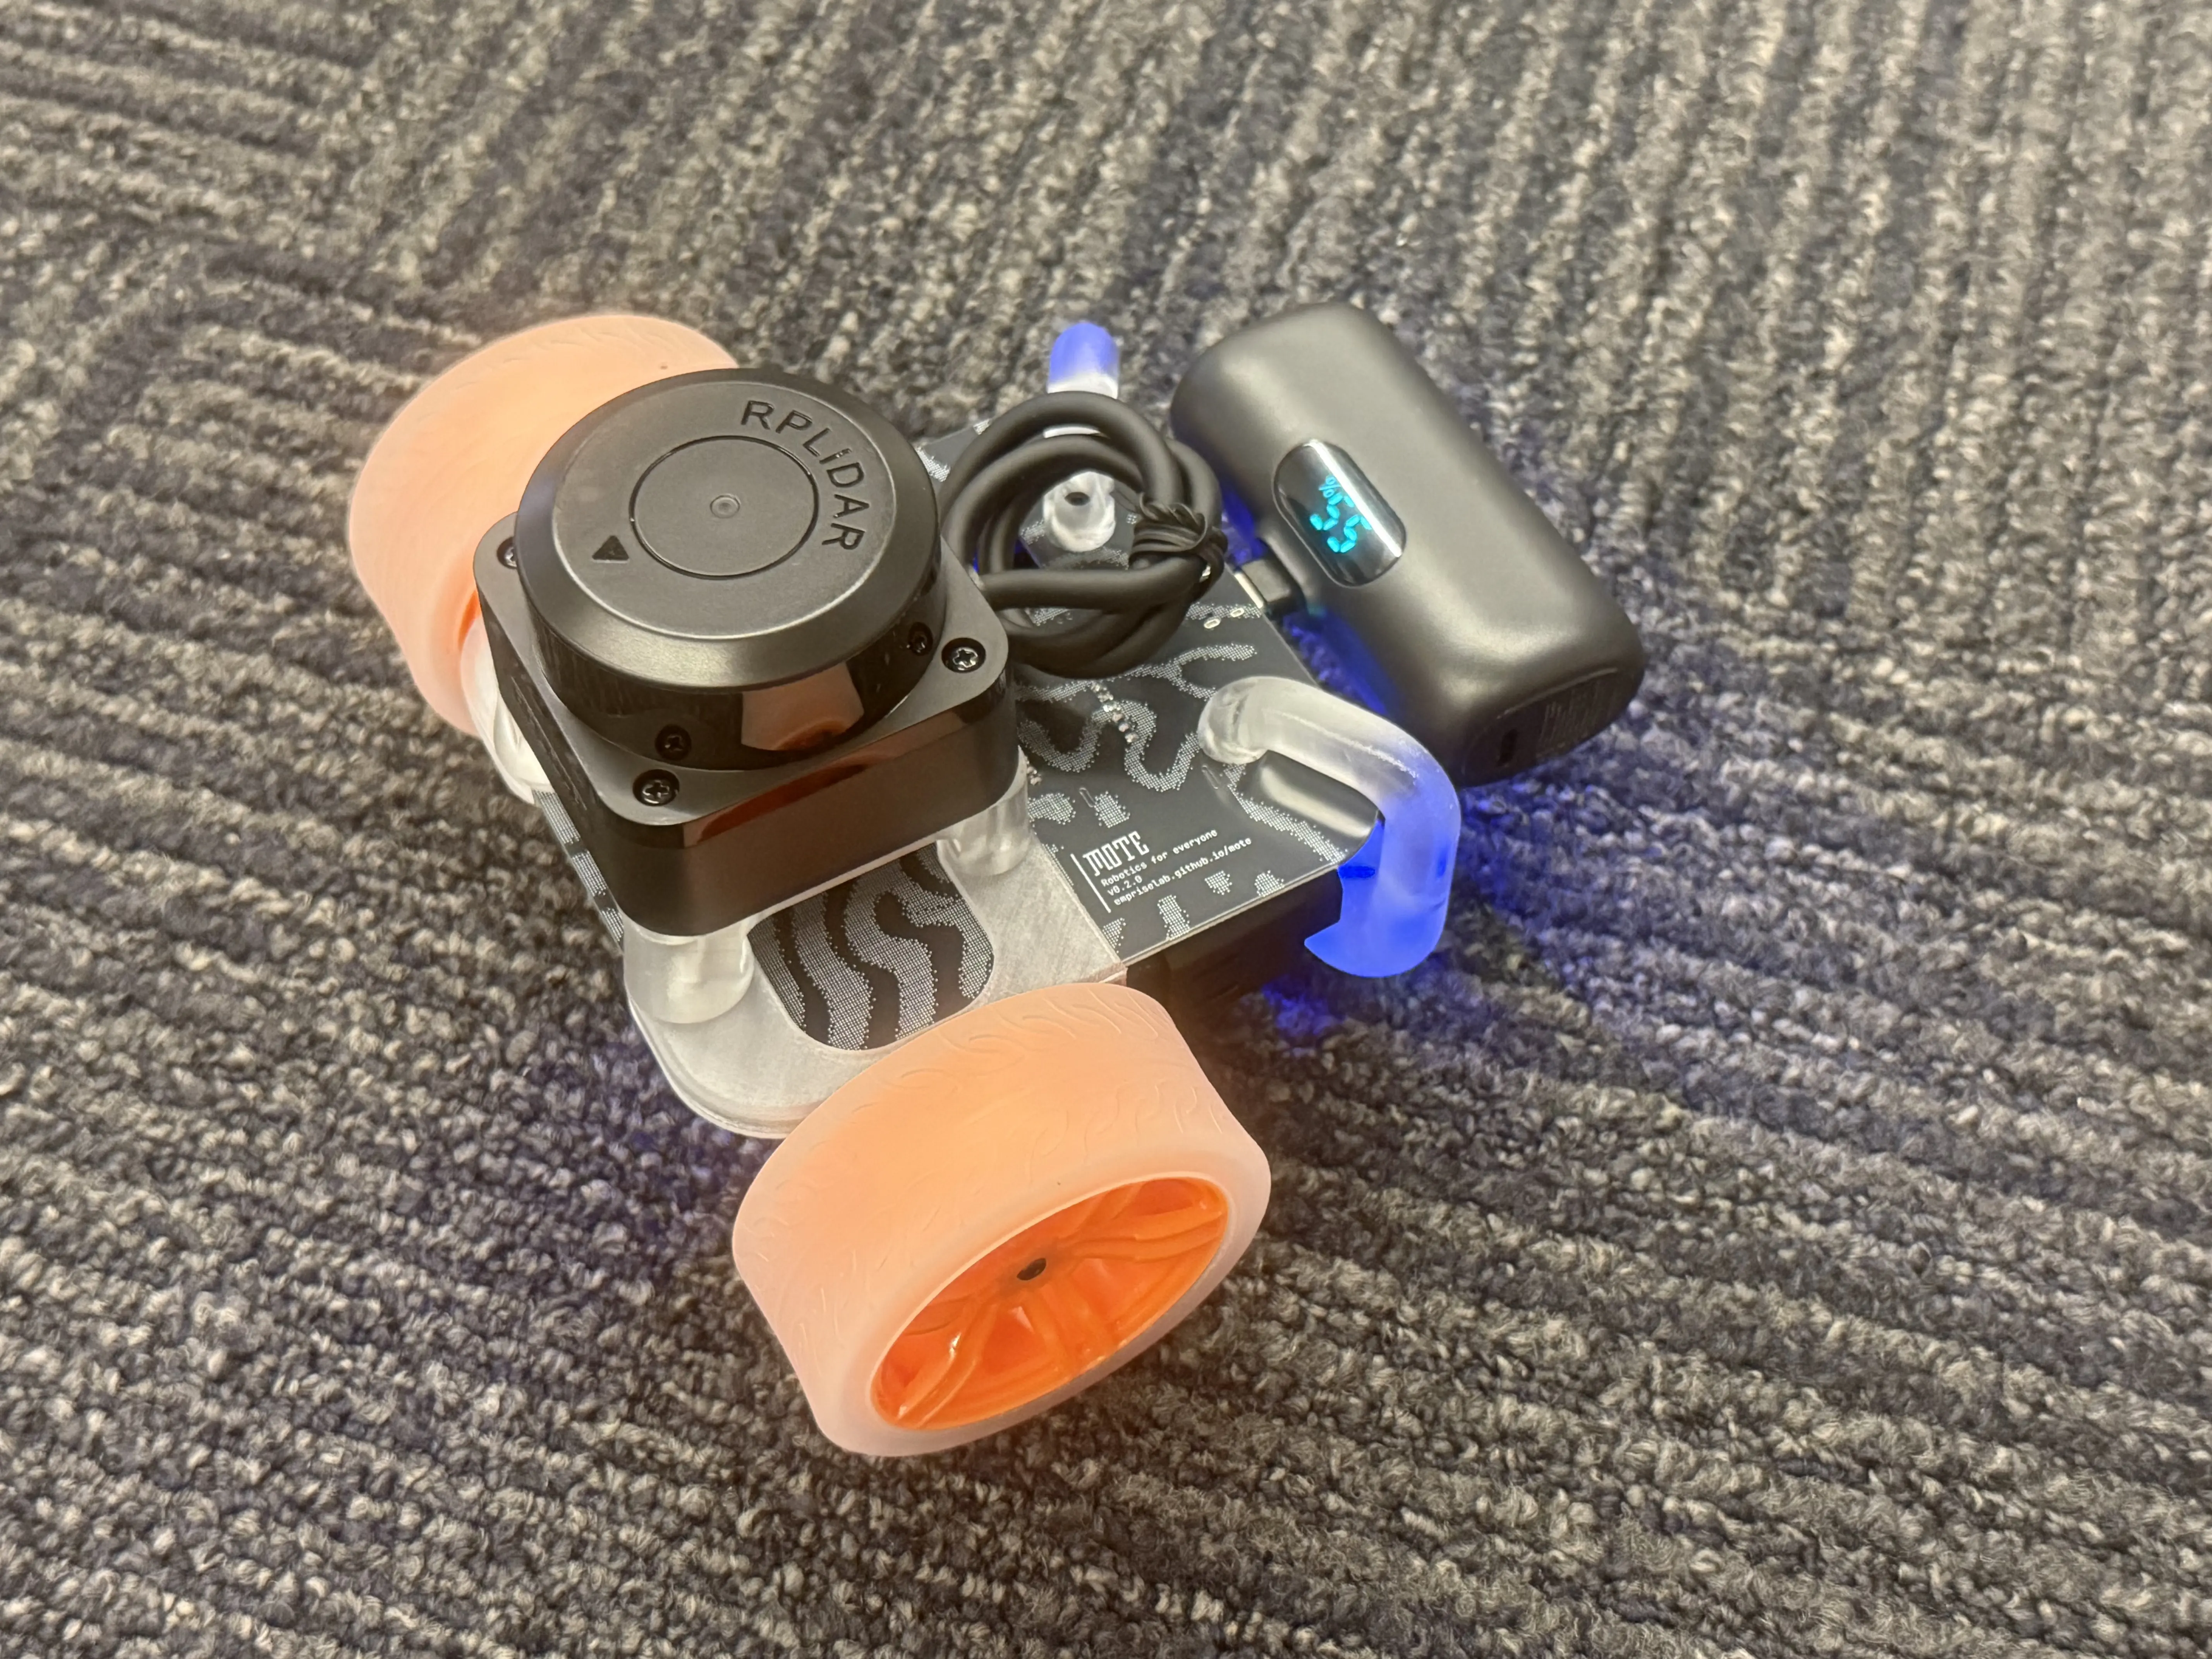
Attach the battery to your Mote. Place your Mote on the ground with enough space for it to move around.
Running the mote-link Demo
In the terminal of your choice, run the demo.
uvx --from 'mote-link[demo]' rerun-demo
Follow the instructions in your terminal to select and connect to your Mote.
Once connected, your browser will open to a dashboard showing realtime LiDAR, wheel encoder, accelerometer, and gyroscope data.
Use the arrow keys to drive Mote around.
Tip
If you know your robot’s name or ip address, you can skip waiting for autodiscovery by passing it in as an argument:
uvx --from 'mote-link[demo]' rerun-demo --ip 192.168.XX.XXor
uvx --from 'mote-link[demo]' rerun-demo --name my-awesome-name
Next Steps
- Python guide - learn how to write your own Python scripts for interfacing with Mote.
- The Rust guide - like the Python guide, but using Rust 🦀.
- The ROS 2 guide - learn how to use Mote with the Robot Operating System.
Troubleshooting
“Could not find Motes using autodiscovery”
Your network has mDNS disabled. This is common practice for public and corporate networks. You can connect directly to your Mote via it’s IP.
-
Connect the robot to your computer using a USB-C cable
-
Note the IP provided under “Identification”.
-
Pass the IP into the demo command
uvx --from 'mote-link[demo]' rerun-demo --ip <IP from the configuration page>
Be aware that Mote’s IP may change between sessions. If that happens, check the configuration page for the new IP.
My Mote drives backwards
Check your motor cable connections. Are the left and right motor connections swapped?